Fleecewood Blog
 This blog is a collection of woolcraft ideas, projects and comments. We’d love to include relevant articles from others, so please email us if you have something you’d like to share. Please note the conditions of reproduction in the next paragraph, and ensure that you are happy with this, or inform us if you wish to place other conditions on reproducing your text and images when you submit an article.
Articles and images are copyright to the acknowledged author. Unless otherwise stated, individuals are welcome to make a copy of any entire article for their own use. Please contact the author for permission to reproduce more than one copy, or if you would like to publish an article or part of an article, including images, elsewhere.
Scroll down for the most recent posts. Older posts are archived under the categories section in the left column.
Recent Posts
- Photographic Instructions for Diagonal Weaving
Photographic Instructions for Diagonal Weaving

Click here for step by step instructions
Back to top- Diagonal Weaving – how to weave a square
Diagonal weaving instructions for making a square
by Anne Grassham, Fleecewood Woolcraft Ltd
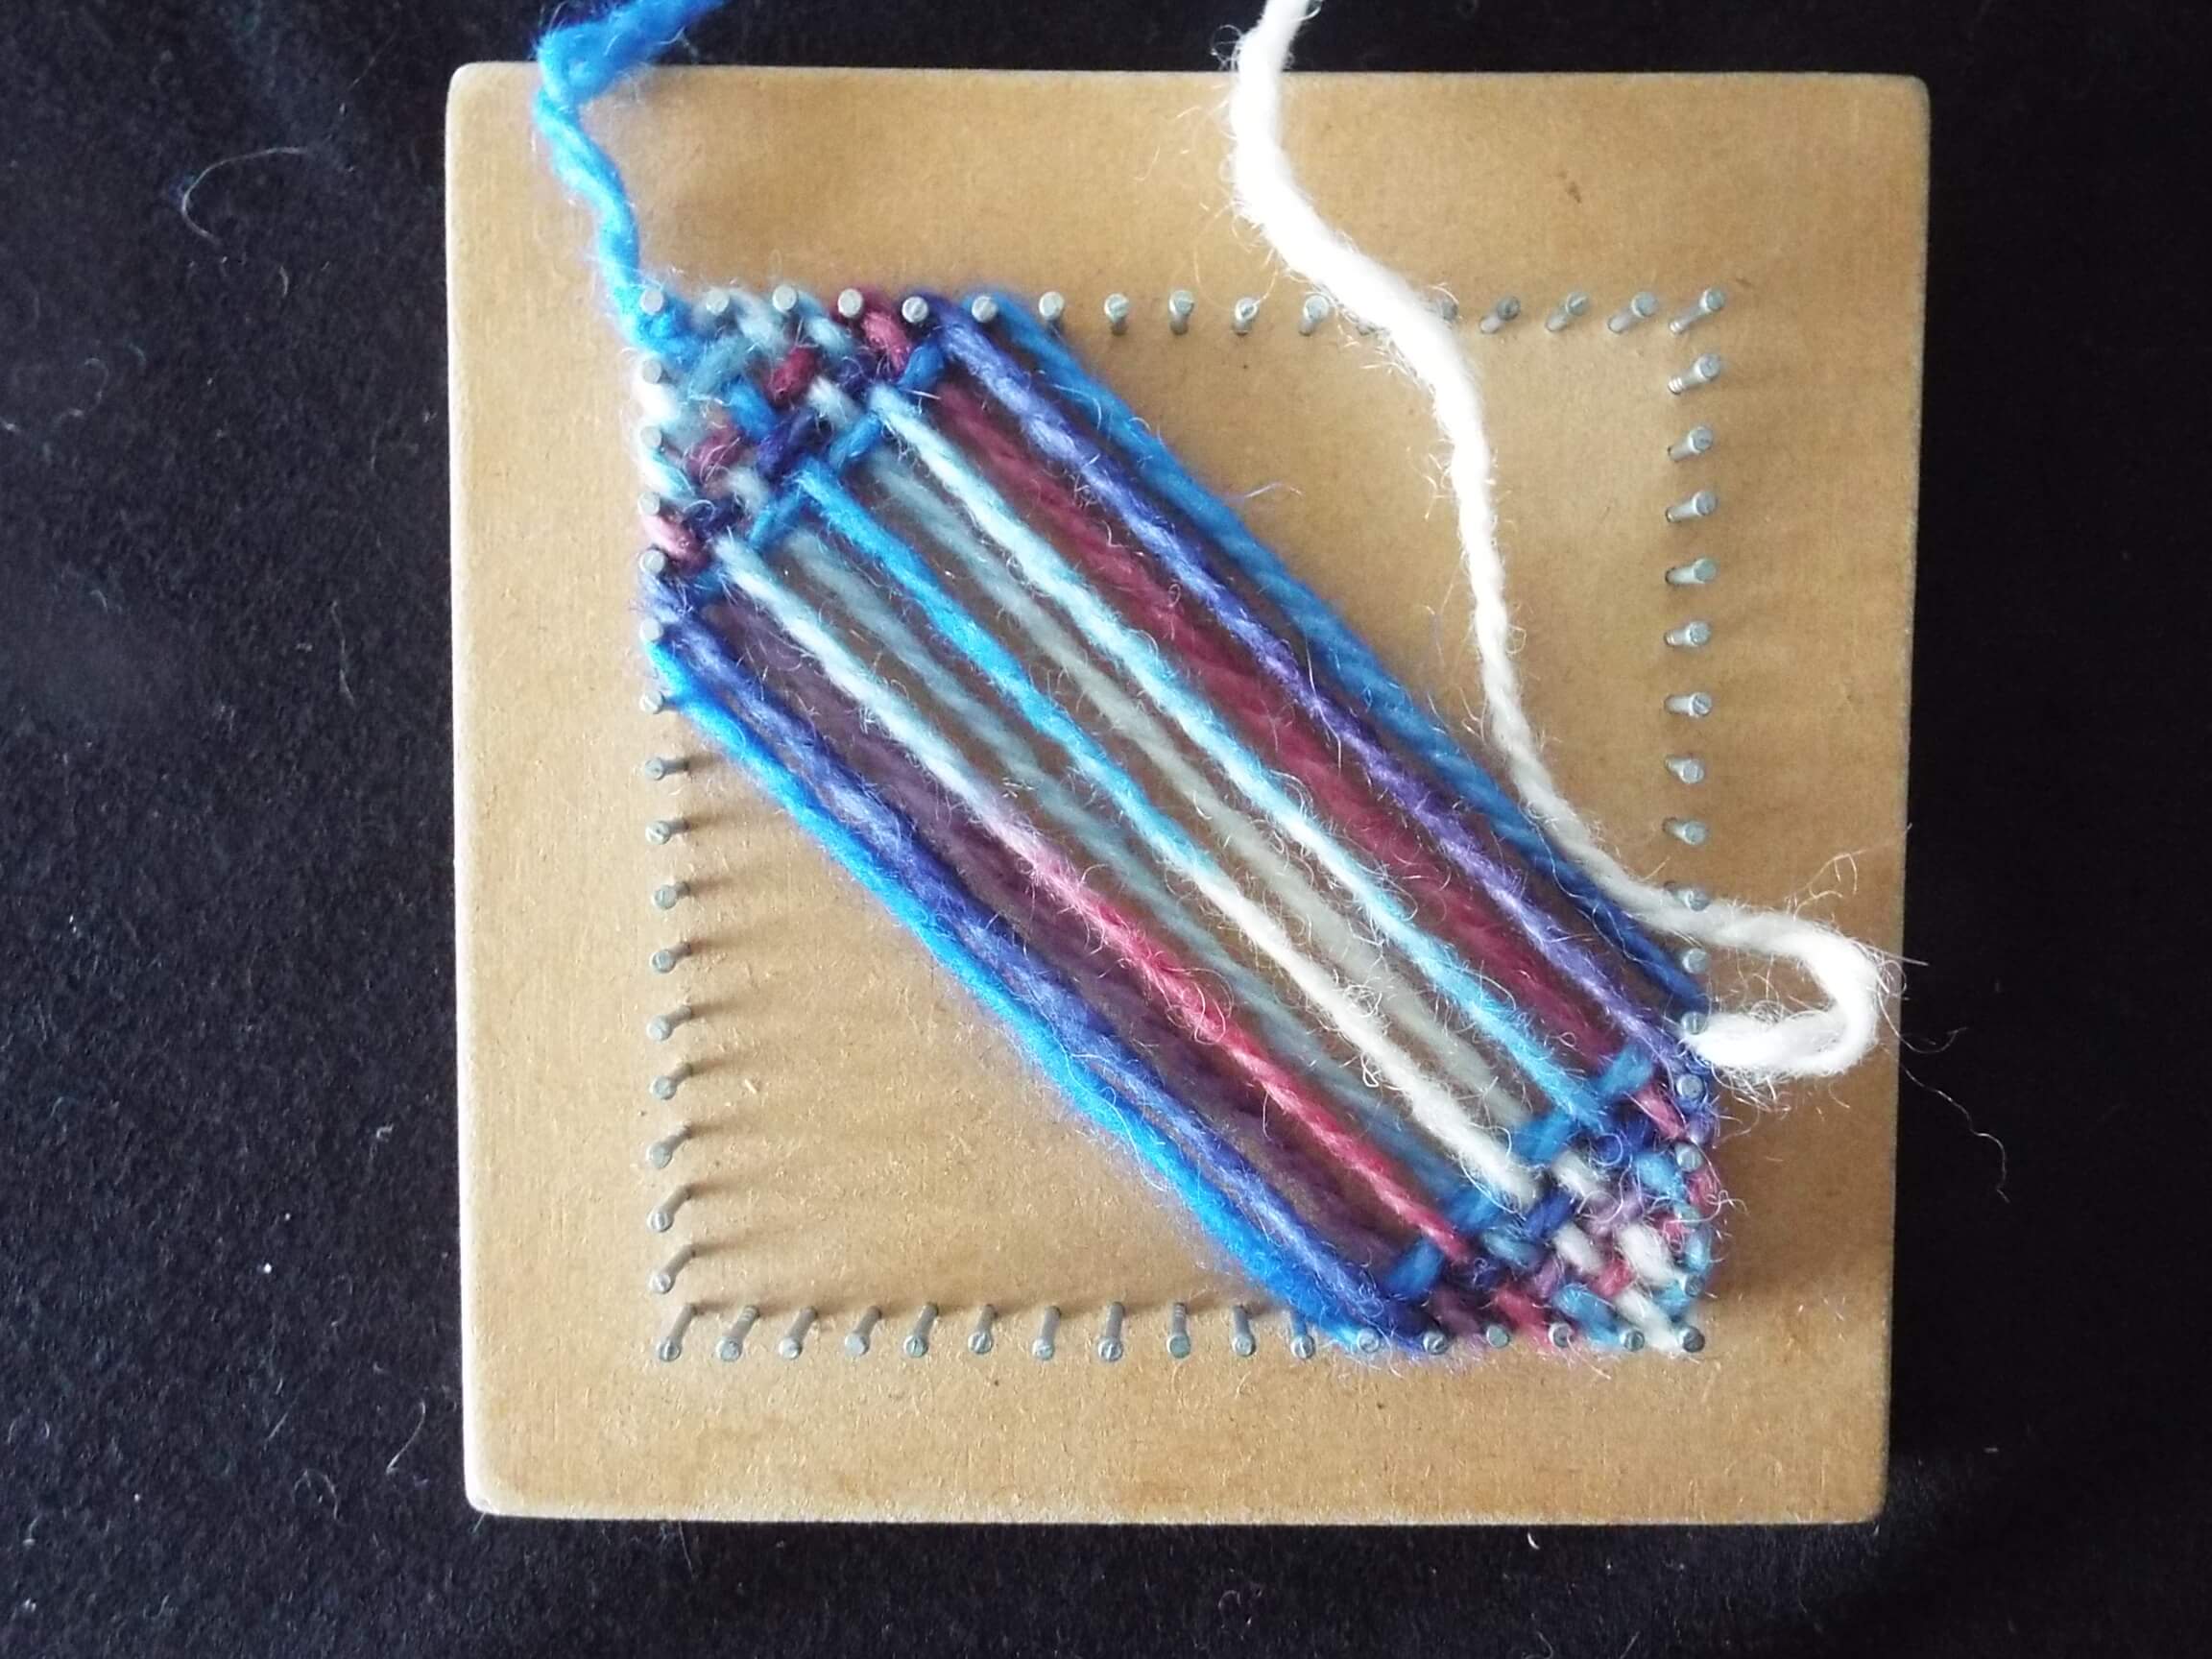
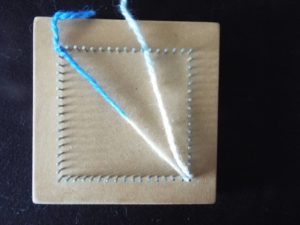 1. Tie yarn to corner nail. Then take yarn diagonally across board and around diagonally opposite nail. Do not wind the yarn right around the nail. The nail is simply to hold the yarn in position. Yarn tension should be firm, and this tension should be maintained throughout subsequent weaving.
2. Take yarn up and around next nail, then diagonally across board and around the nail next to corner nail, without crossing the initial diagonal thread.
Then pull a loop of the yarn under the first diagonal thread. This is the beginning of the weaving process.
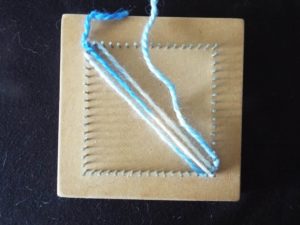
3. Place the woven loop around the nails to the left of the first diagonal thread at top and bottom of board. Pull yarn loop firm, but not tight. Note that because it was a loop that has been woven, weaving occurs at both ends of the board.
4. Take the weaving yarn up one nail, back across the board, and around the next nail along the top edge. Then weave a new loop through the diagonal threads, such that the over and under pattern is opposite to the previously woven loop. Initial loops are easy to weave with fingers, but as work progresses, a crochet hook makes it easier.
5. Place the loop around nails at the opposite ends of the board and pull firm. Push woven threads up or down until they form straight lines between the nails. It is much easier to do this at each round rather than leaving it till later, as it affects tension.
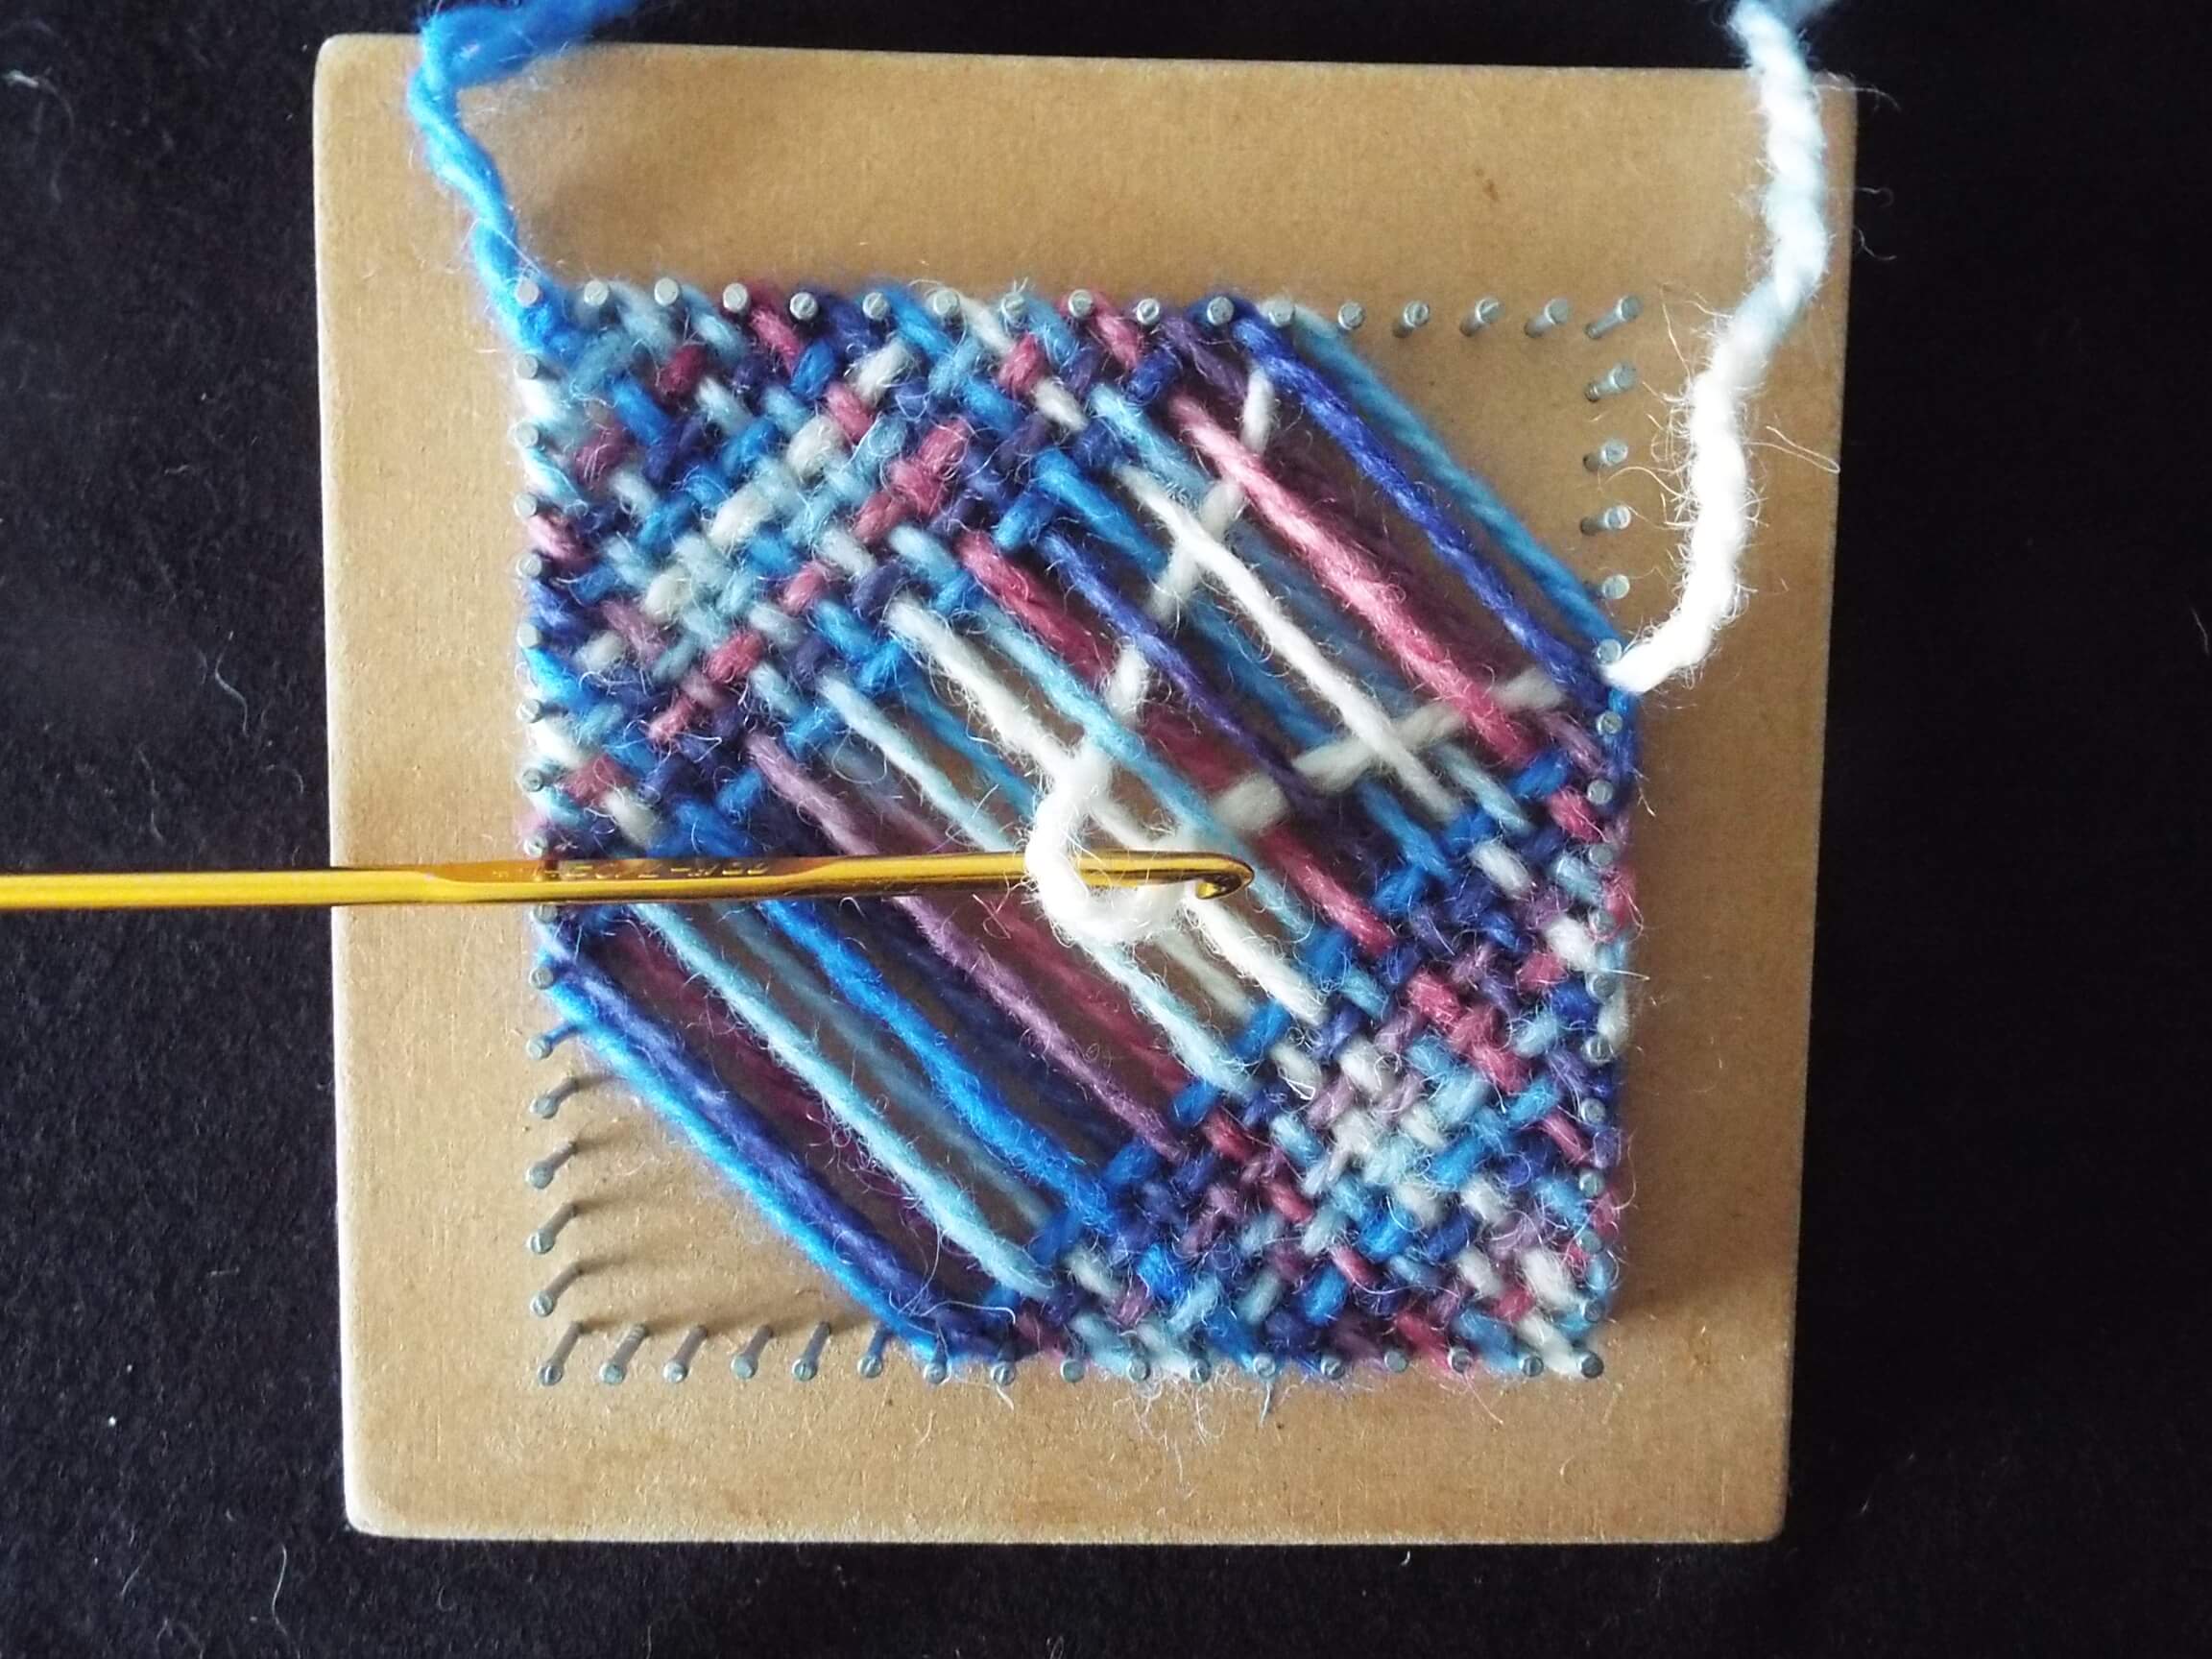
6. Continue weaving loops of yarn. When using the crochet hook, it is useful to weave under and over several diagonal threads at once. If the first woven loop went under the initial diagonal thread, then insert the crochet hook under the first, third, fifth threads to get the correct shed (under and over arrangement), for weaving all subsequent loops.
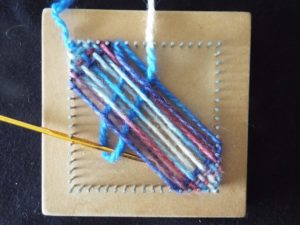 7. Pull yarn loop under several diagonal threads at the same time using a crochet hook to speed the weaving process.
 8. Place yarn loop around appropriate nails and pull firm, remembering to press the threads into straight lines between the nails. If weaving with thicker yarns, this is particularly important, as it can be very much harder to do once the weaving has progressed past half way.
 9. As weaving progresses, it can become difficult to weave loops in one go, so insert the crochet hook part way through the path of the loop, and pull through approximately the full size loop, then insert the crochet hook further across the work to finish the weaving the whole loop. Some people like to use a hook with a long shaft so the loop can be woven in one go, but I find the staged process easier.
10. Continue weaving until there are only two, diagonally opposite, nails left unused.
Lay the yarn diagonally across the board and add about 4 cm for a tail. Cut the yarn at that point.
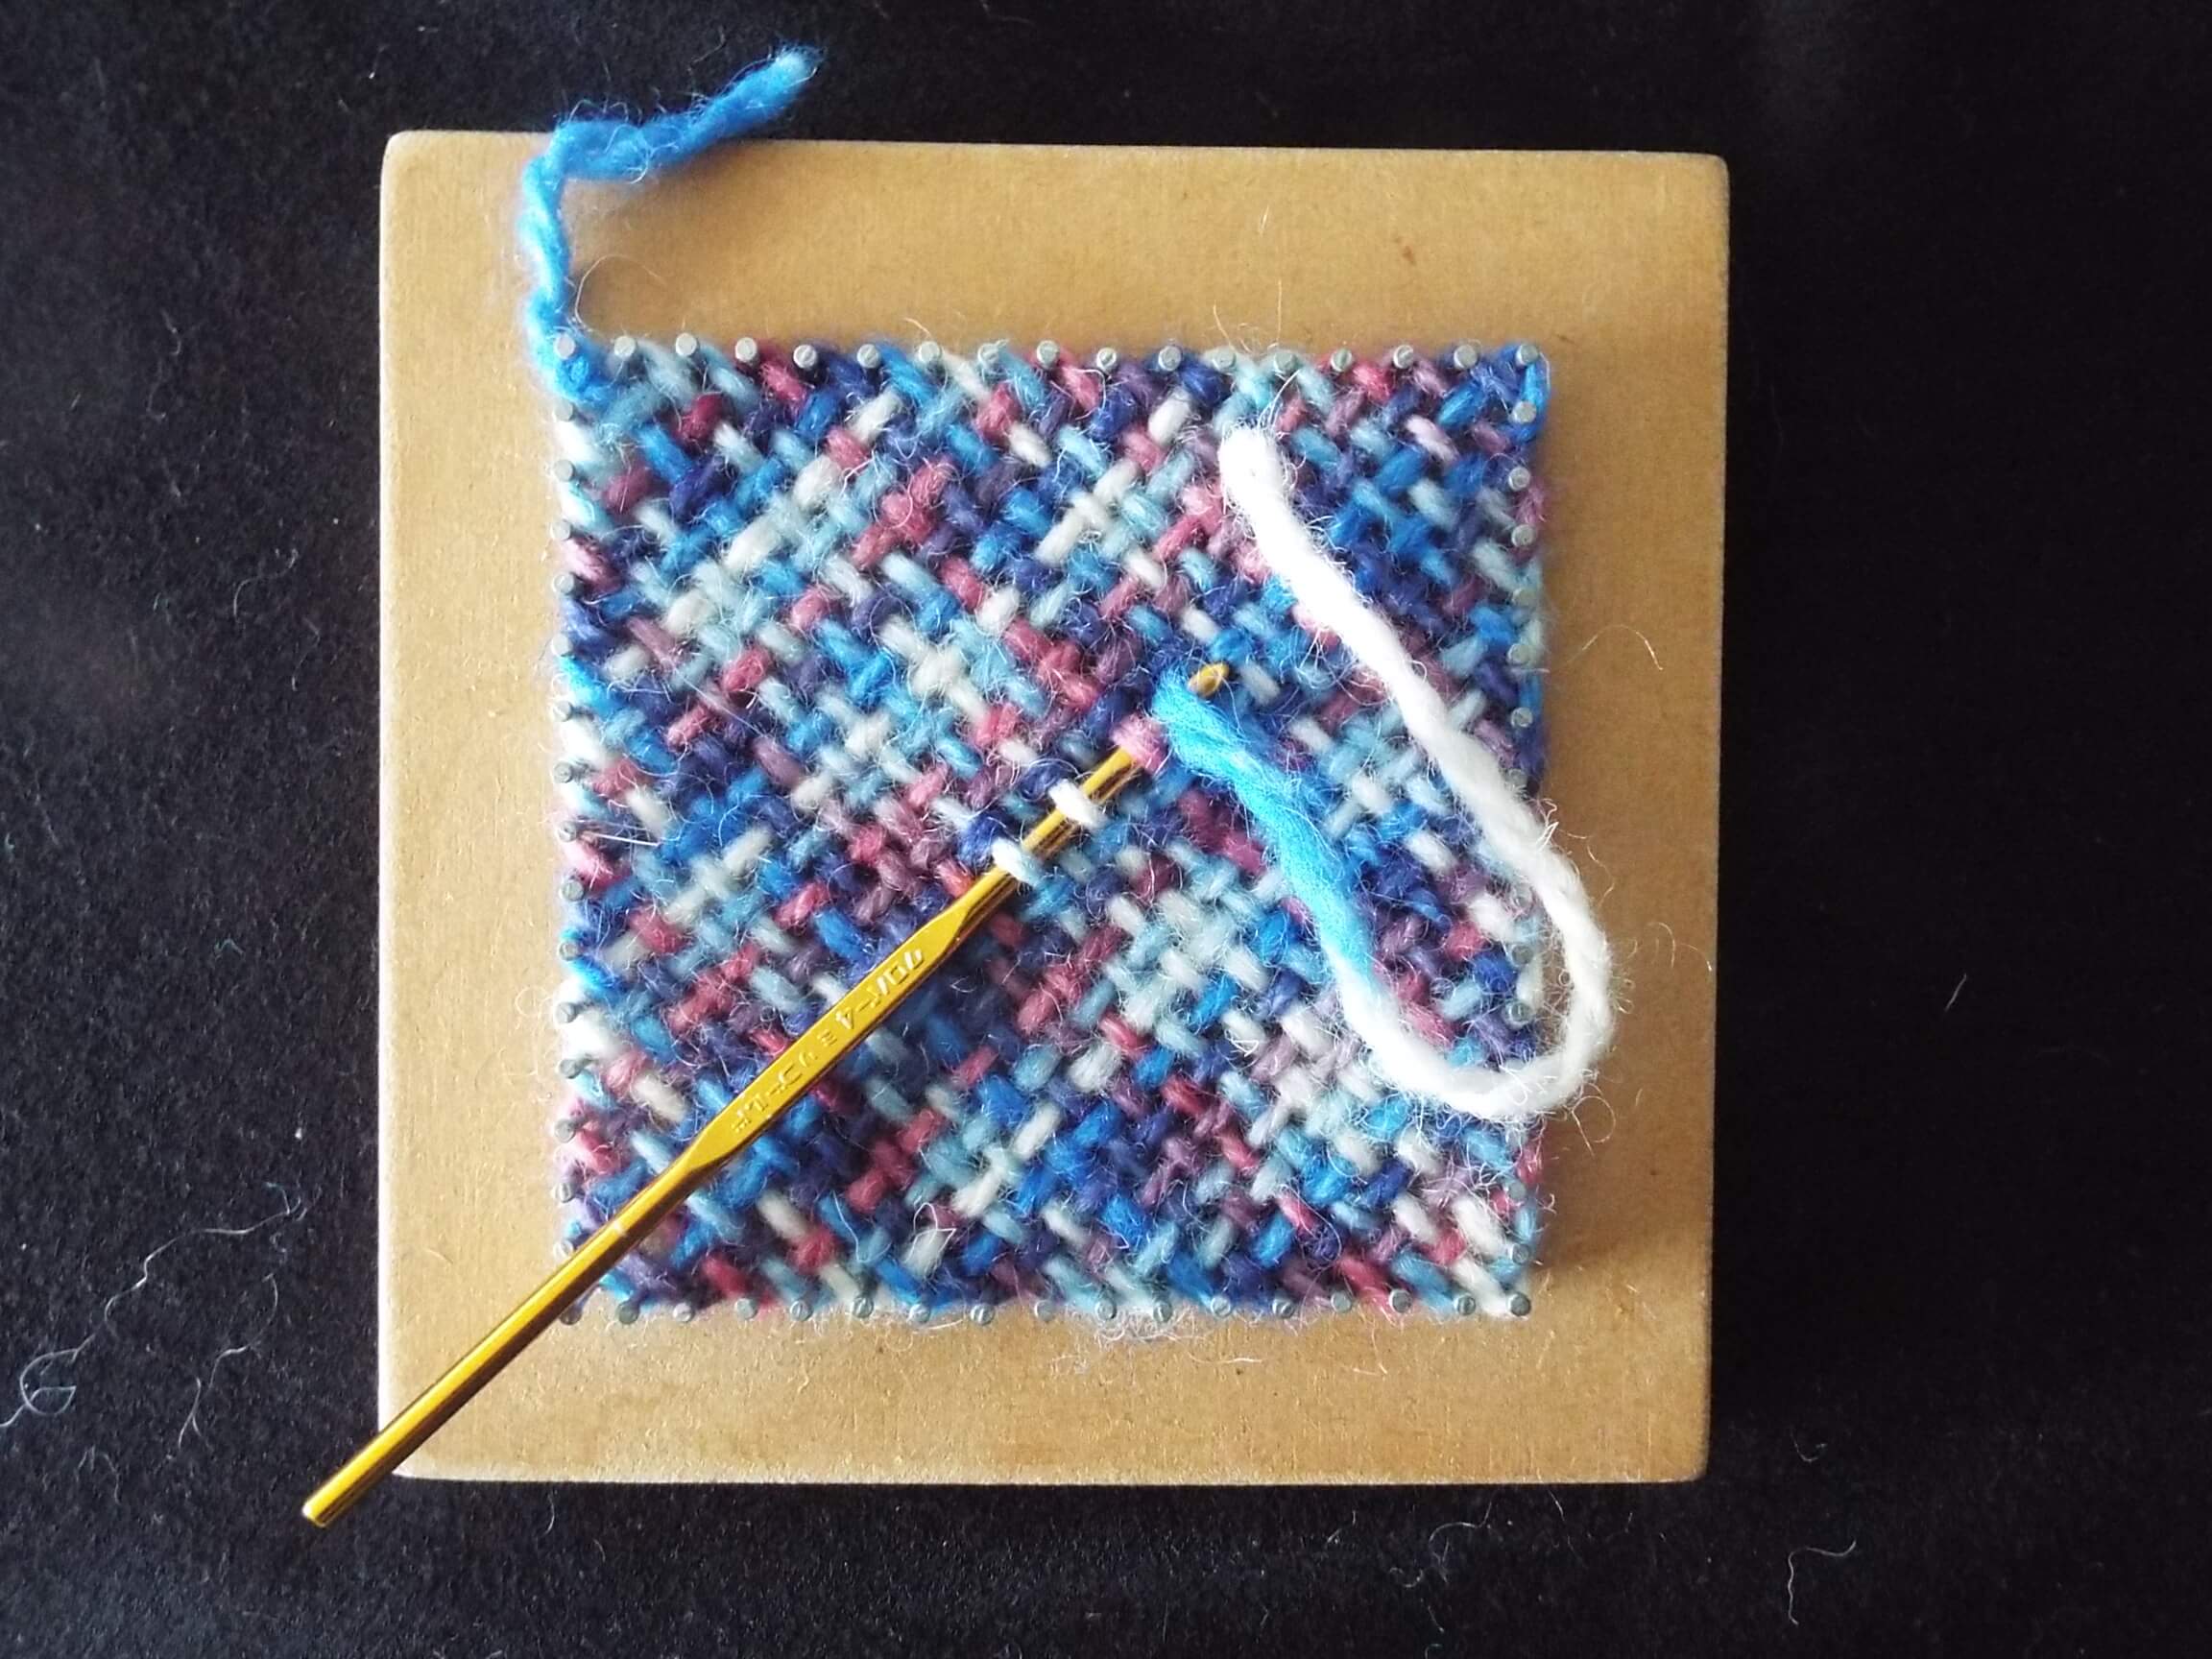
 11. Weave the final diagonal thread – not a loop – which will probably need to be done in several stages. The final thread may be harder to weave than previous loops, and if so use the crochet hook to weave under every alternate threat one at a time.
 12. The final diagonal thread locks all the other loops in place, and completes the weaving of the square.
Untie the knot at the start of the weaving so the weaving can be easily lifted off the board using the method in step 13.
13. To remove the square from the board, turn the crochet hook upside down (so the hook doesn’t catch) and starting at a corner, run it along one side inside the nails, to lift the weaving off the nails. Repeat on the other three sides, and the woven square falls off the board.
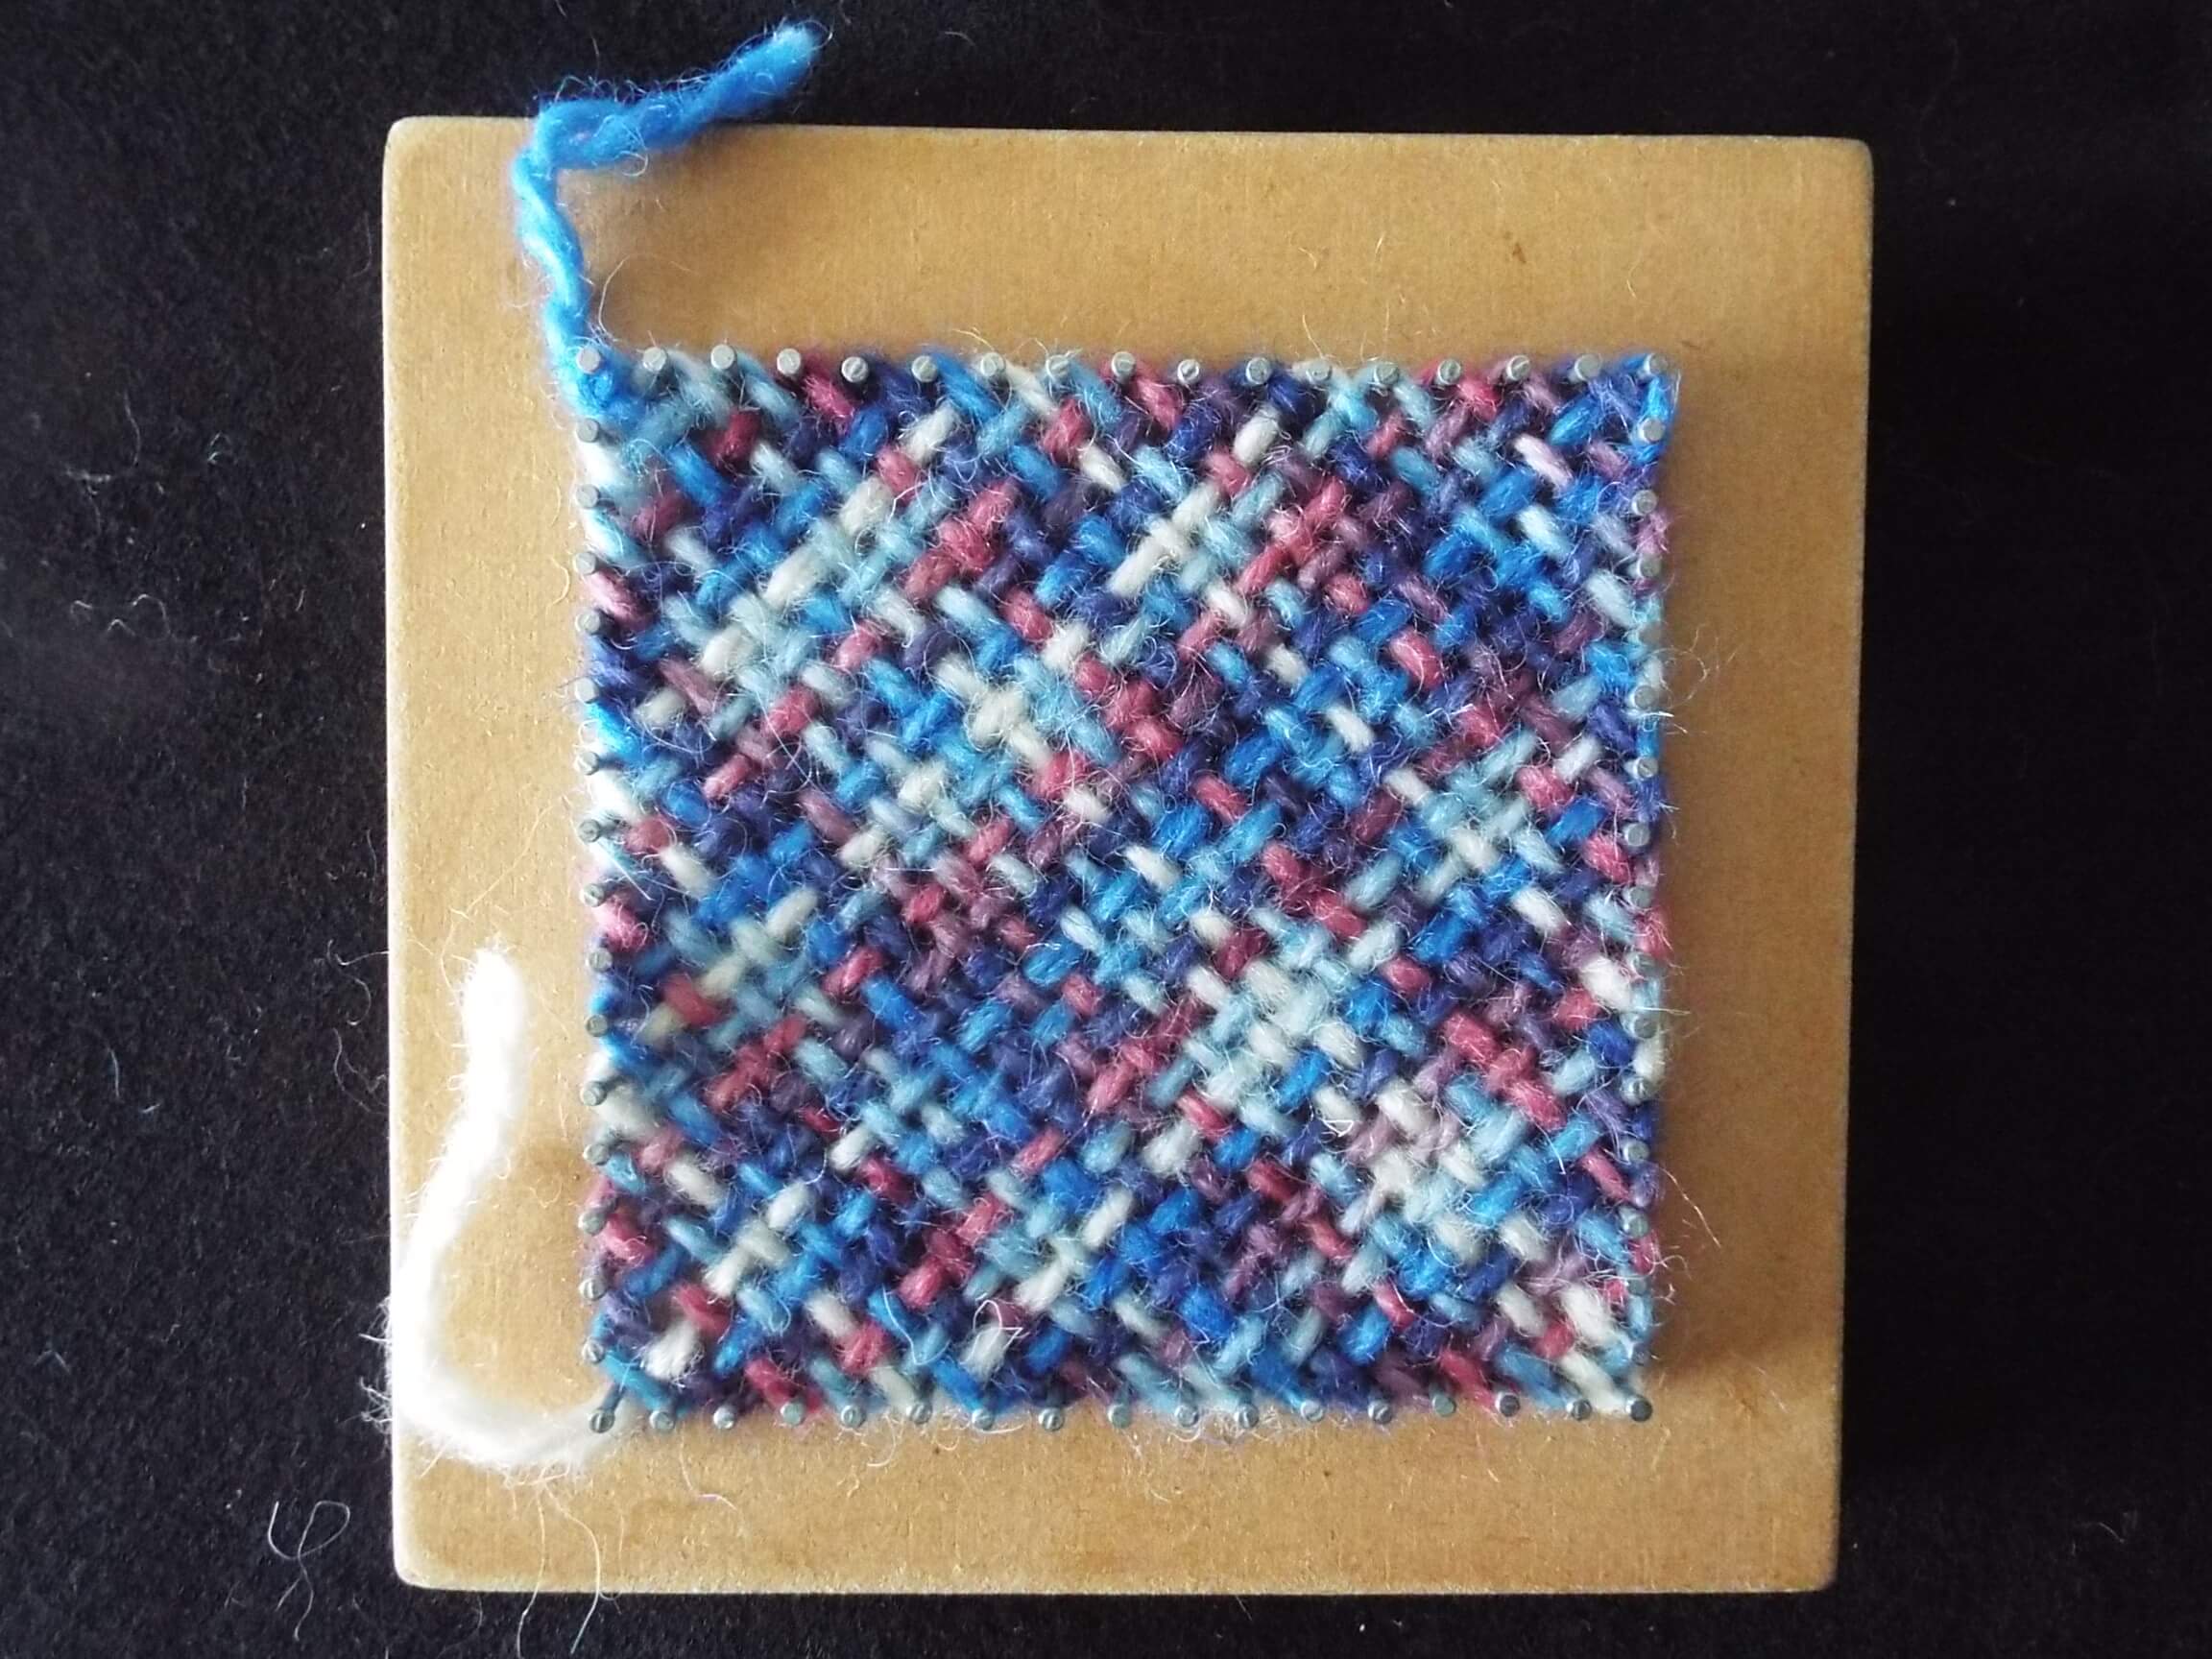
 14. The weaving has four finished edges, and a starting and finishing tail of yarn.
Use the crochet hook to weave in the yarn ends.
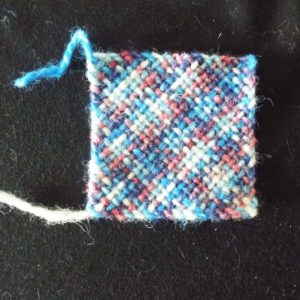
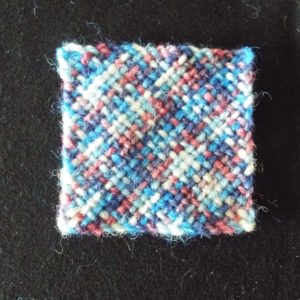 15. The finished diagonally woven square.
Use as a mat or join squares to make a larger piece of fabric.
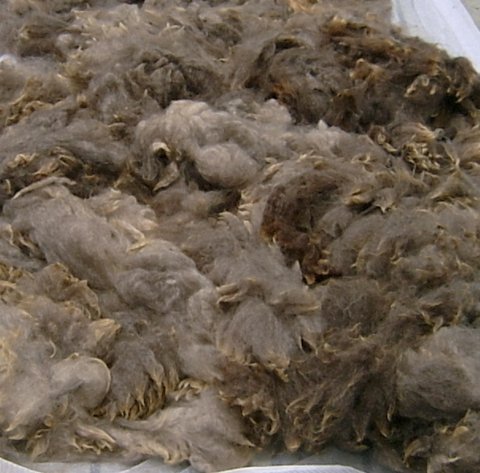
Back to top- Washing Fleece
How I wash Fleece
Anne Grassham
Fleecewood
anne@woolcraft.co.nz
www.woolcraft.co.nz
www.woolcraftworkshops.co.nz
I frequently field questions about how to wash a fleece. Here is what I do.I use my top loading washing machine, because of the ease of using the spin cycle to remove excess water at each stage of the process. However, you can use a tub or bath. If you do not have access to a spin cycle gently press excess water out, but do not wring the wool.
Always remove wool from the machine while filling with water.
Never agitate or tumble wool, unless you are wanting to make felt.
Water temperature. It is important to use hot water to dissolve the grease. Such hot water is not necessary during rinsing stages, but my rule of thumb is never put the wool into water colder than the wool is, because this will encourage the felting process.
Step 1
Place fleece loosely in open meshed bags (I use onion sacks). I use at least two bags so that I can balance the washing machine on the spin cycle.Step 2
Soak in cold water (typically overnight) so wool is well wetted and dirt is loosened. This water is excellent for watering plants if you want to bail it out. Drain, spin and remove wool bags.Step 3
Fill machine with hot water and add detergent or well dissolved soap flakes. I have used fancy wool detergents and find them useful for fleeces with a high wax component in the grease (such as Merino) and dirty fleeces. However, they are not necessary for most of my fleeces, and I typically use much cheaper dish washing liquid – about a cupful. Place the wool bags in the soapy water and gently prod to ensure unimpeded penetration of the water to the center of the bags. (This is why the wool should be loose in the bags). Soak about 15 minutes. Do not let the water cool too much, because dissolved grease and dirt can start depositing back onto the wool. Drain, spin and remove bags.Without removing the wool from the bags, check it especially a few of the tips. If the fleece is particularly dirty or greasy step 3 may need to be repeated.
Step 4
Fill the machine with hot water, add the wool bags, gently prod to ensure good water penetration to the center of the bags and soak for a few minutes. Drain, spin and remove wool bags.Repeat step 4 at least twice, and more if necessary, until rinse water is clear. Thorough rinsing is important to get a nice clean fleece. But also be on the look out for incipient felting. It would be better to work with a less clean fleece than ruin it altogether.
Step 5
Back to top
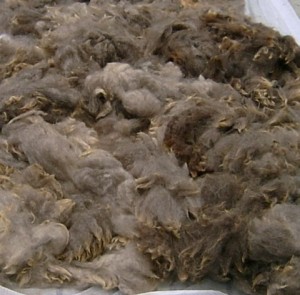
When fleece is rinsed, gently remove it from the bags and spread out to dry. Drying is most effective if air can circulate through from underneath. I typically spread the wet wool on lengths of curtain net laid out on my slatted sundeck. If it looks like rain I just roll up the wool in the net and bring inside. Later, it is easy to take outside again, and unroll to continue drying.- Egg Cosy – an easy first project for children
Egg Cosy – an easy first project for children
Anne Grassham
Fleecewood
anne@woolcraft.co.nz
www.woolcraft.co.nz
www.woolcraftworkshops.co.nz
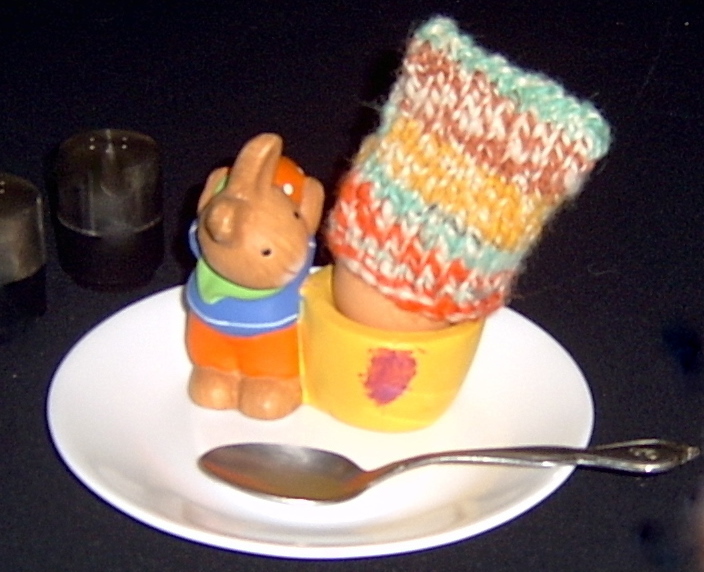
In the days when families sat down to breakfast together, these little wonders were used to keep a boiled egg warm until it was ready to be eaten, in the same way that a tea cosy was used to keep the teapot warm. They formed an ideal first knitting project for children, and I well remember making them for my aunts and uncles, as well as the grandparents.
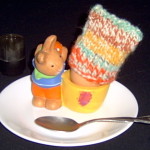
This project is also ideal for using up small amounts of leftover yarn. The egg cosy in the photo was made from a handspun yarn made from odds and ends of various slivers.
Requirements
15 – 20 g of double knit (8 ply) or triple knit (12 ply) yarn
Size 4 – 4.5 knitting needles (large needles for thicker yarn)
Darning needleMethod
Loosely cast on 18 stitches for double knit, or 14 stitches for triple knit yarn.
Knit in garter or stocking stitch for 10 cm.
If using stocking stitch, knit one row that would normally be purled (this defines the fold at the top of the egg cosy).
Continue in garter or stocking stitch for another 10 cm.
Cast off loosely (so that cast off does not draw knitting in)
Fold knitting in half, and sew the sides together so the cast on and cast off edges form an opening at one end.Use
Back to top
Place the egg cosy over the hot boiled egg to keep it warm until it is ready to be eaten.- Joining Diagonal Weaving
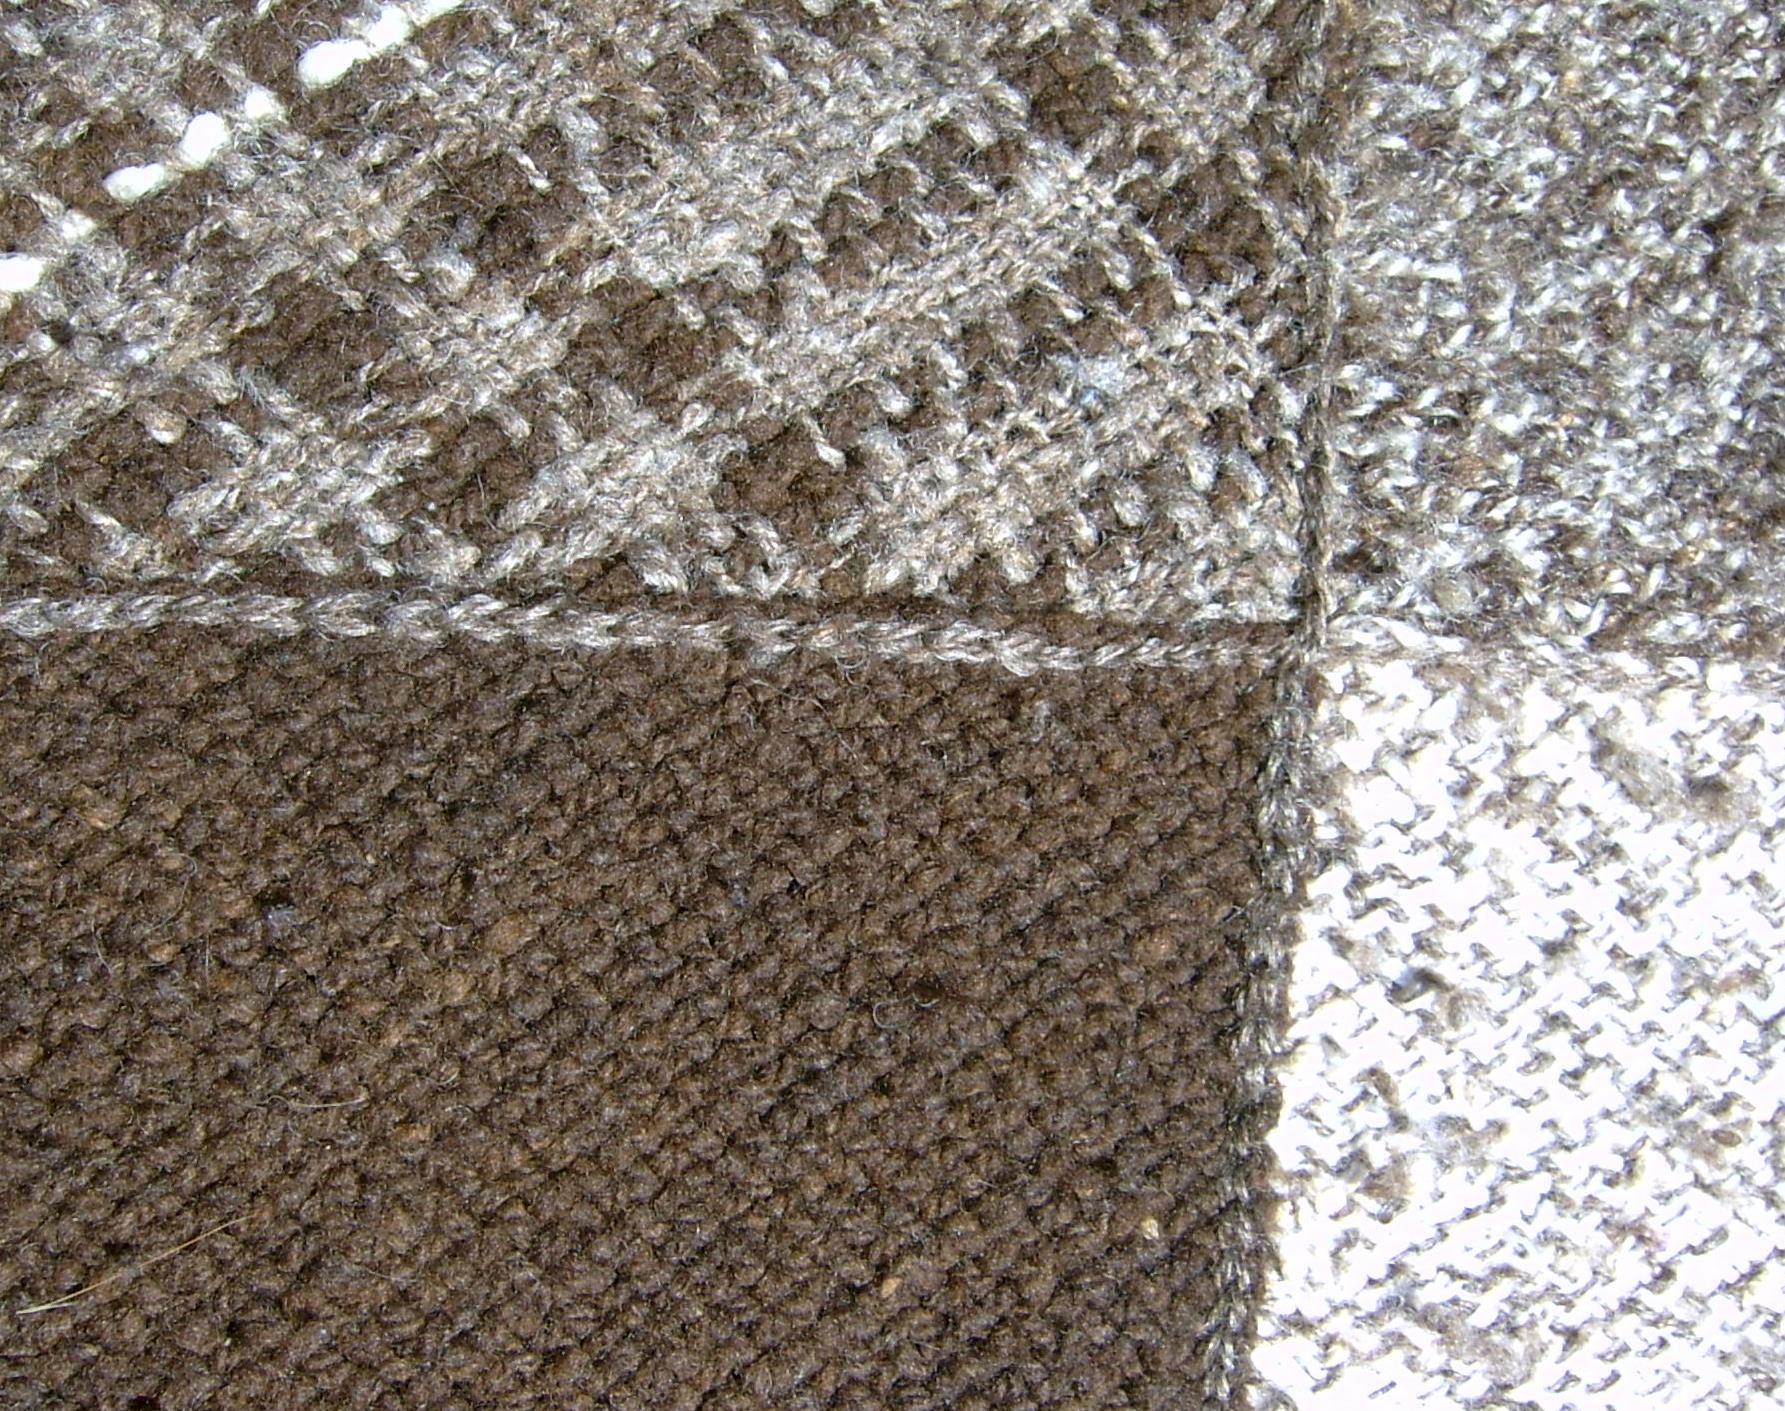
Joining Diagonal Weaving – A Quick and Easy Way
Anne Grassham
Fleecewood
anne@woolcraft.co.nz
www.woolcraft.co.nz
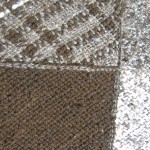
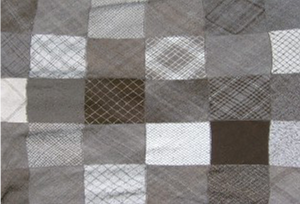
www.woolcraftworkshops.co.nzTraditionally, knitted and woven piggy squares have either been sewn together directly, or crocheted around to form a contrasting border before being sewn together. The unique structure of diagonally woven squares offers another, and much simpler way to join squares, by using the loops that form the selvedge along each woven edge, and chain crocheting them together. Using a contrasting coloured yarn for the chain crochet helps outline each square and adds a uniting element to the finished work. The crocheted join is a chain on the top side and a single line of stitches on the lower side. Placing the chain on the upper side gives a more pronounced outlining effect.
Method
1. Lay out the squares in the desired pattern, so you know where each square is to be placed in the overall design. I like to intersperse plain and patterned squares, and try to balance colour intensities.
2. Looking at the first row of squares, pick up the first two squares to be joined. Slightly overlap the loops along the join edges. It may help to pin the join, but realise that this is an overlap join, not a seam.
3. Insert the crochet hook through the loop at one end of the top square, and the corresponding loop in the underlying, bottom square. Using the joining yarn, pull a loop up through both squares and without taking the crochet hook out of the loop, continue to chain crochet by inserting the hook into the next upper and lower loop along the square edges to be joined. Continue to chain crochet the squares together, until the squares are joined along one edge. Leave a generous yarn tail and break the yarn.
4. Join the next squares along the row in a similar fashion, until you have a line of joined squares, with yarn tails hanging off the inside (relative to the blanket/rug) edge.
5. You can either proceed by joining the other rows of squares in a similar way, until all squares are joined into rows, and then join the rows together, OR
6. You can join the second row of squares using the tails from the first row. The second row is thus attached to the first row in a flimsy way (until you come back and chain crochet the two rows together). When the tail yarn runs out simply add in the joining yarn by overlapping both yarns for approximately three chain stitches. In this method the joins are interspersed and there is no weaving in of ends needed later, but it is a bit more challenging managing all the partially attached pieces. Once all the squares have been crocheted together in one direction, you then chain crochet the squares together in the other direction.
7. Once the squares are all joined together in both directions, I chain crochet around the outside of the blanket/rug to firm up the outer edges, which are inclined to stretch otherwise.
Back to top